Staff App
For shop staff. Sign in with your SecureRent account to download.
Install the app you need on your Android phone.
For shop staff. Sign in with your SecureRent account to download.

Goes on a phone you are renting out. Staff only.
Do not just install this app. Downloading and installing it the normal way leaves the lock inactive — the phone will look enrolled but cannot actually be locked. Android only grants the required control during first-time setup, so the phone must be set up using the steps below.
Two ways to do this — pick whichever suits the phone in front of you.
Takes about 10 minutes. You need the setup QR code below and a Wi-Fi connection.

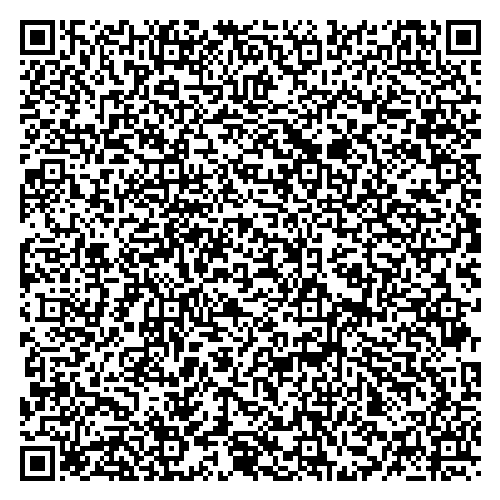
Setup QR code — scan this at step 5
save as an image
If the phone never opens a QR scanner at step 3, or shows a warning about an untrusted app during setup, some phone makers hide or block this step entirely — switch to the USB cable tab instead. It reaches the same end result on every Android phone.
Takes about 15–20 minutes the first time. You need a laptop, a USB cable, and the phone plugged into the laptop. Use this whenever the QR method above does not work, or if you just prefer it — it works the same way on every Android phone, because it does not depend on that phone's setup wizard at all.
developer.android.com/tools/releases/platform-tools and unzip it
somewhere easy to find, e.g. your Desktop. That folder now contains a program
called adb — everything below is run from inside it.securerent-agent.apk. Then download
setup-phone.bat and
setup-phone.ps1 and save both into the same
platform-tools folder from step 1 (all three files side by side).setup-phone.bat (in the folder from the
step above). A black window opens and walks you through the rest:
adb and the APK, and tells you plainly if
either is missing.YES to confirm before doing anything — nothing happens to
the phone until you confirm.The phone stops responding to adb the moment the script
finishes successfully — permanently, on purpose, since that is part of the same
lock that stops the renter removing the app. Never run this against a phone or
emulator you still need to develop on.
The script above just runs these three commands for you, in a terminal opened in the platform-tools folder from step 1:
adb devicesdevice — if it says unauthorized, look at the
phone screen for the popup from step 6 and tap Allow.
adb shell settings put global package_verifier_enable 0
adb install -r securerent-agent.apk
adb shell dpm set-device-owner com.andplock.lockapp/.LockDeviceAdminReceiverSuccess: Device owner set to package com.andplock.lockapp. If it instead
says Not allowed to set the device owner because there are already several
users, an account was added during setup — factory reset and redo from
step 4, making sure to skip Wi-Fi and the Google account completely.
How to tell it worked (either method): the agent app shows “Device Owner active — rental lock enabled”. If it says “Not provisioned”, the setup step did not take — factory reset and start again.
Once set up, the renter cannot factory reset the phone, unlock the bootloader, or remove the app. That protection only exists because it was installed this way. There is no way to convert an already-set-up phone — it must be reset.
APK SHA-256 (changes every release)deb5ec51f77b235465adf1942853af22cf422470a64afeb909699a54505f09f4
Signing certificate checksum, embedded in the QRODirF07KWp8BkwAwVF_SuVraiBuUofYf7D-fgqEEzGI
“App not installed”
An older copy signed with a different key is still on the phone. Uninstall it first, then
install again.
The 6-tap scanner will not open
Either the phone is past the Welcome screen or was already set up — factory reset and
try again, since the scanner only exists during first-time setup. Some phone makers hide or
disable this scanner entirely; if it still will not open after a fresh reset, use the
USB cable tab above instead. It reaches the same result on every phone.
Agent says “Not provisioned”
The QR step did not take effect. The app is installed but has no control over the phone.
Factory reset and redo the setup.
Setup QR code fails to scan or download
Check the phone has Wi-Fi during setup, and that your manager regenerated the QR code for
this version of the app — a QR made for an older build will be rejected.
Sign-in fails
Confirm the phone has internet, and that you are using the right account for this
environment. Test and live systems use separate logins.